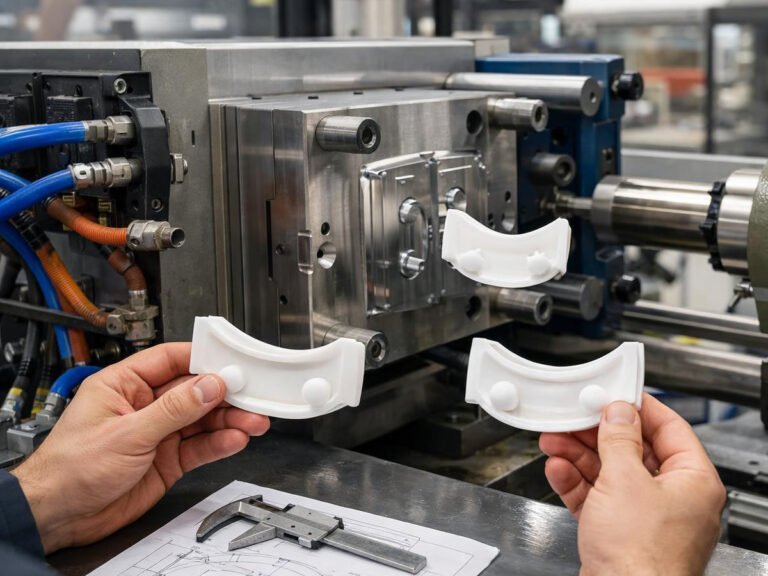
In injection molding projects, many people consider a mold trial run successful once the machine produces several samples with an acceptable appearance. However, this only covers the most basic part of injection mold validation.
A real mold trial does more than confirm appearance. It is the point in the process where tooling defects, process limitations, quality risks, and production-scale problems are supposed to surface, while they are still cheap and fast to fix. Run the trial properly, and mass production tends to go smoothly, with fewer reworks and fewer line stoppages. Run it as a formality, and those same issues show up later, at a much larger scale and a much higher cost.
The real purpose of an injection mold trial is to answer four important questions:
- Can the mold operate reliably?
- Can the molding process remain stable?
- Does the molded part meet functional requirements?
- Is the mold ready for continuous production?
Testing the Mold: Can It Run Reliably?
The purpose of the first trial, often labeled T1, is not to judge how good the part looks. It is to find problems with the tool itself. The mold is the foundation everything else depends on — if it has a structural flaw, no amount of process tuning downstream will fully correct it.
At this stage, we focus on four areas.
Structural design. We check whether ejection runs smoothly and whether sliders, lifters, and ejector pins interfere with each other, scrape the part, leave white stress marks, or cause drag marks. A structure that looks correct on paper does not always behave correctly once the mold is actually opening and closing under real conditions.
Gate location and venting. We look at how well the resin flows, whether air gets trapped, whether there is scorching, short shots, or visible weld lines. Most cosmetic defects at this stage do not come from bad process settings — they come from vents that were not opened up enough, or a gate placed in the wrong spot.
Cooling and temperature uniformity. Shrinkage, warping, and deformation are almost always tied to uneven cooling. A trial run is where we confirm the temperature is consistent across the full mold, and identify any hot spots or cooling dead zones before they turn into a recurring defect pattern.
Mold precision and structural strength. We verify wall thickness, critical alignment points, and any offset issues, and confirm that the mold can hold up to clamping force over repeated cycles without developing flash, distortion, or premature wear.
In short, this first trial is a full physical checkup for the tool — surfacing every design, machining, or assembly issue so it can be corrected before moving forward.
Testing the Process: Finding a Stable Operating Window
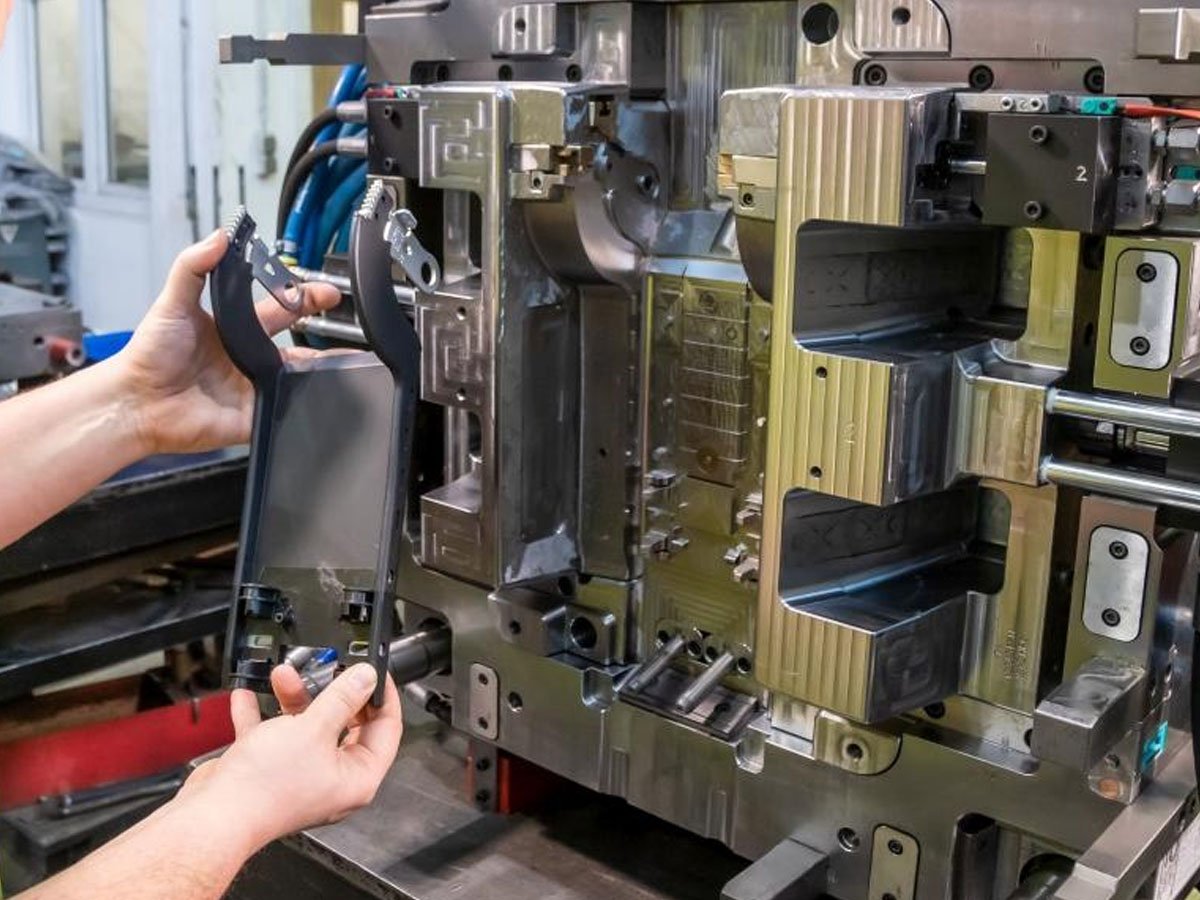
A mold with no defects does not mean the part is ready for volume production. The same tool, run with slightly different settings, can produce very different yield rates. The second purpose of a mold trial is to identify a stable process window for the specific combination of material, machine, and mold.
The goal is not to find one perfect parameter setting. The goal is to find a range where production can remain stable despite normal variations.
The key process parameters to verify:
- The upper and lower limits for melt temperature, mold temperature, injection speed, staged pressure, and hold pressure
- Which parameter ranges start producing flash, sink marks, flow lines, or blushing
- How resin moisture content and batch-to-batch variation affect the molded result
- Whether the machine’s available pressure and injection speed can actually meet what the mold requires
There is a real difference in mindset here. Someone newer to the process is usually satisfied once a single shot looks good. Someone experienced is looking for a wide process window, not a single working setpoint.
A wide window means production stays stable even with small fluctuations, such as a slightly different batch of resin, a shift in ambient temperature, or a different operator. A narrow window means any one of those same variables can trigger a batch of defective parts almost immediately.
Testing the Product: Usable, Assemblable, and Reliable
A sample that looks good under a light does not automatically mean the part is acceptable. A trial has to validate the real quality of the product across several dimensions at once.
| What Gets Checked | What We’re Looking For |
|---|---|
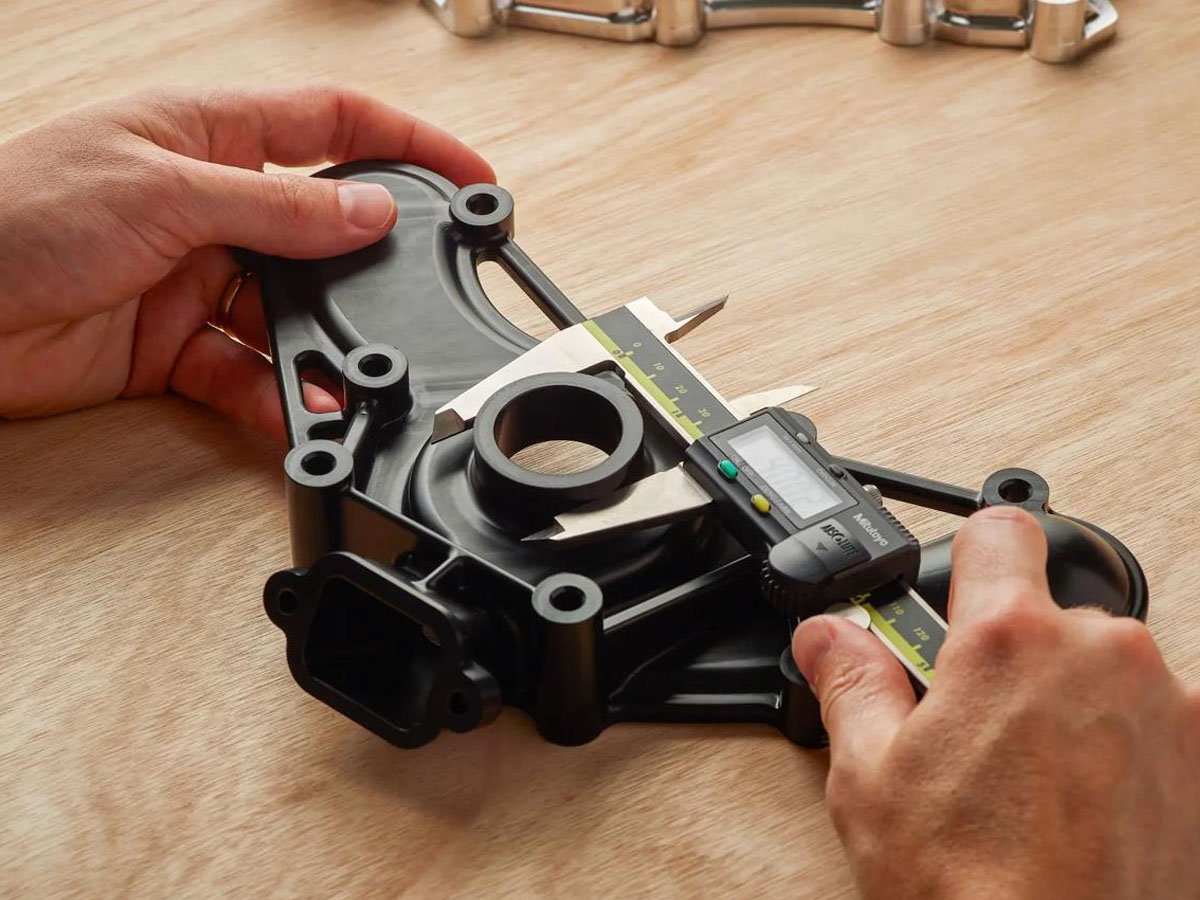
| Full dimensional verification | Measuring critical and key-controlled dimensions, tracking deviation trends to judge whether the process will hold up at volume |
| Cosmetic defects | Confirming flow lines, sink marks, warping, color variation, weld lines, and ejector marks can be corrected |
| Assembly fit | Test-fitting with mating components to check clearance, tightness, snap-fit engagement, and interference issues |
| Compatibility with downstream processes | Confirming the base material condition is suitable if the part will be painted, printed, bonded, or plasma-treated |
The real standard for a finished part is not only how it looks sitting on a table. It is whether the part functions, holds up over time, assembles correctly with its mating parts, and passes whatever testing the application requires.
Testing for Mass Production
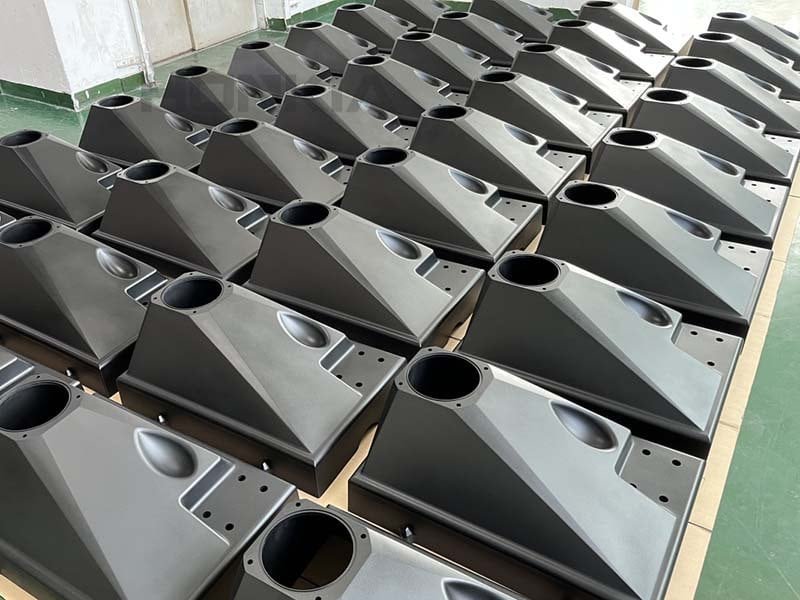
This is the step most teams skip, and it tends to be the most valuable one. It is common to see a small trial batch come out flawless, and then watch the same mold produce a string of problems once it moves to full-volume production. A trial run has to confirm production feasibility ahead of time, not just part quality.
Cycle time against target output. Whether the molding cycle can hit the required rate, whether cooling time is dragging the pace down, and whether there is room to optimize it further.
Yield stability. Whether the defect rate stays controlled under normal operating conditions and normal environmental fluctuations, and whether there are intermittent defect patterns that only show up occasionally.
Mold maintenance cost. Whether the tool tends to build up carbon deposits, stick, or require frequent stoppages for cleaning and upkeep.
Operational practicality. Whether parts are easy to remove and place without scratching, and whether the process depends on a highly skilled operator to run consistently, or can be handled reliably by a standard production team.
The real purpose of a mold trial is to catch every one of these issues before any of them make it into a full production run.
4 Stages of an Injection Mold Trial
Manufacturers commonly break this process into T1, T2/T3, and final production-validation trials. Mapped against the four checks above, the progression looks like this:
- T1 is primarily about the mold itself — surfacing structural, flow, cooling, and precision issues before anything else gets tuned.
- T2 and T3 are where the process window gets locked in and product quality gets stabilized, based on what T1 revealed.
- The final trial before mass production simulates full-volume conditions to confirm the yield rate, cycle time, and maintenance load actually hold up at scale.
When we run trials for a new tool, we treat each of these four checks as a separate pass rather than folding them into one quick sample run — it takes longer up front, but it is the difference between a mold that performs well in a demo and one that performs well after the tenth thousand shots.
Conclusion
A successful mold trial means fewer production interruptions, lower improvement costs, and more predictable manufacturing results.
Felxiparts, as a reliable injection molding supplier, provides more than sample parts. We also support mold validation, process optimization, quality verification, and production preparation to ensure the project moves smoothly into mass production.