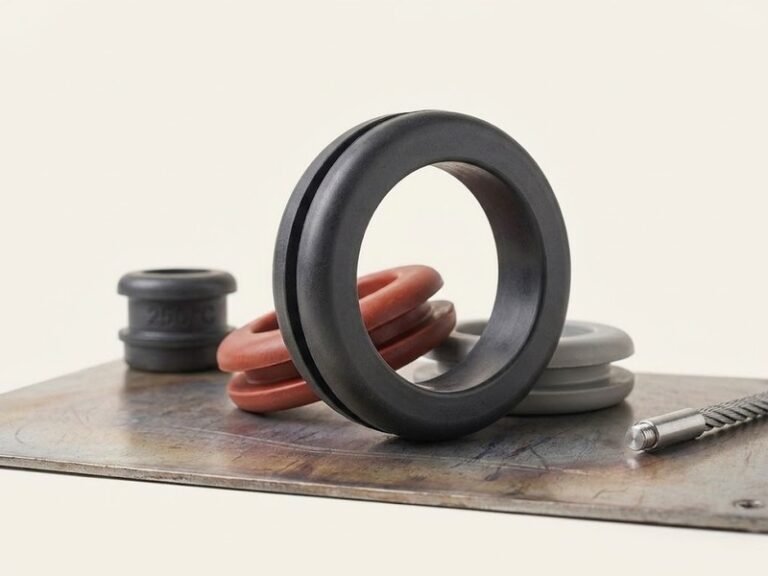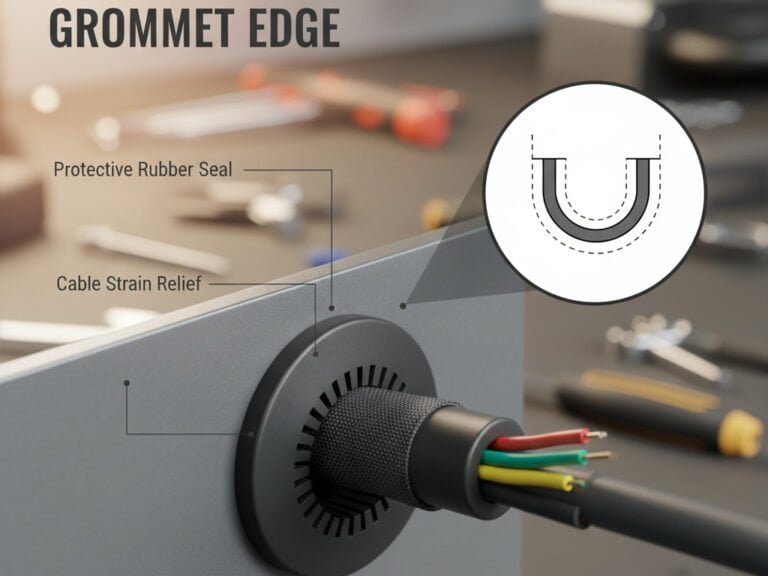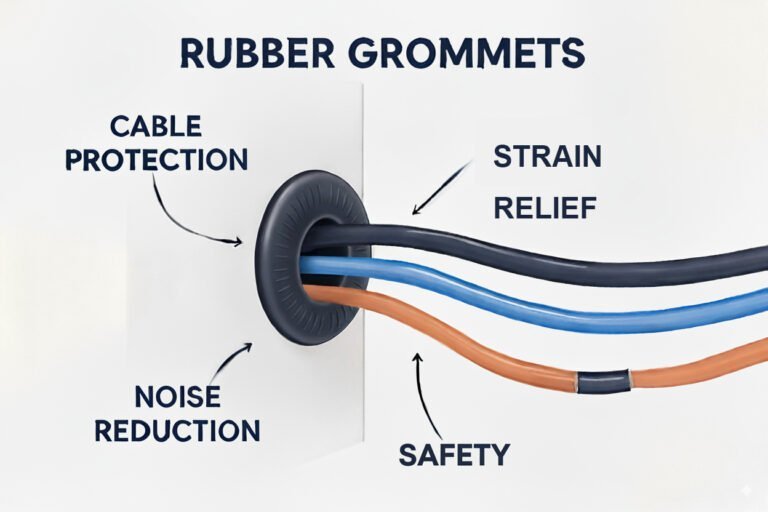
Rubber grommets ability to shield against sharp edges, absorb vibrations, and provide insulation. Whether you’re wiring an electrical box or organizing cables in an office desk, proper rubber grommet installation ensures durability, safety, and a polished finish.
Preparation for Rubber Grommet Installation
For a smooth rubber grommet installation, measure grommet size by checking the hole diameter, panel thickness, and cable size to ensure a snug fit. Select the right grommet that matches these dimensions. Choose a material suited to your environment. Gather tools: drill, measuring tape, marker, sandpaper, and safety goggles. Optional: Use soap or silicone lubricant for tight fits. Proper preparation ensures a secure installation.
Step-by-Step Guide to Rubber Grommet Installation
Following a careful step-by-step process guarantees the grommet’s effectiveness and longevity.
Step 1: Measure and Mark the Hole Location
Use a measuring tape or ruler to determine the exact location on the panel where the rubber grommet will be installed. Mark this spot clearly with a pencil or marker. Double-check the location to avoid obstructions, especially in confined spaces like electrical boxes.
Step 2: Drill the Hole
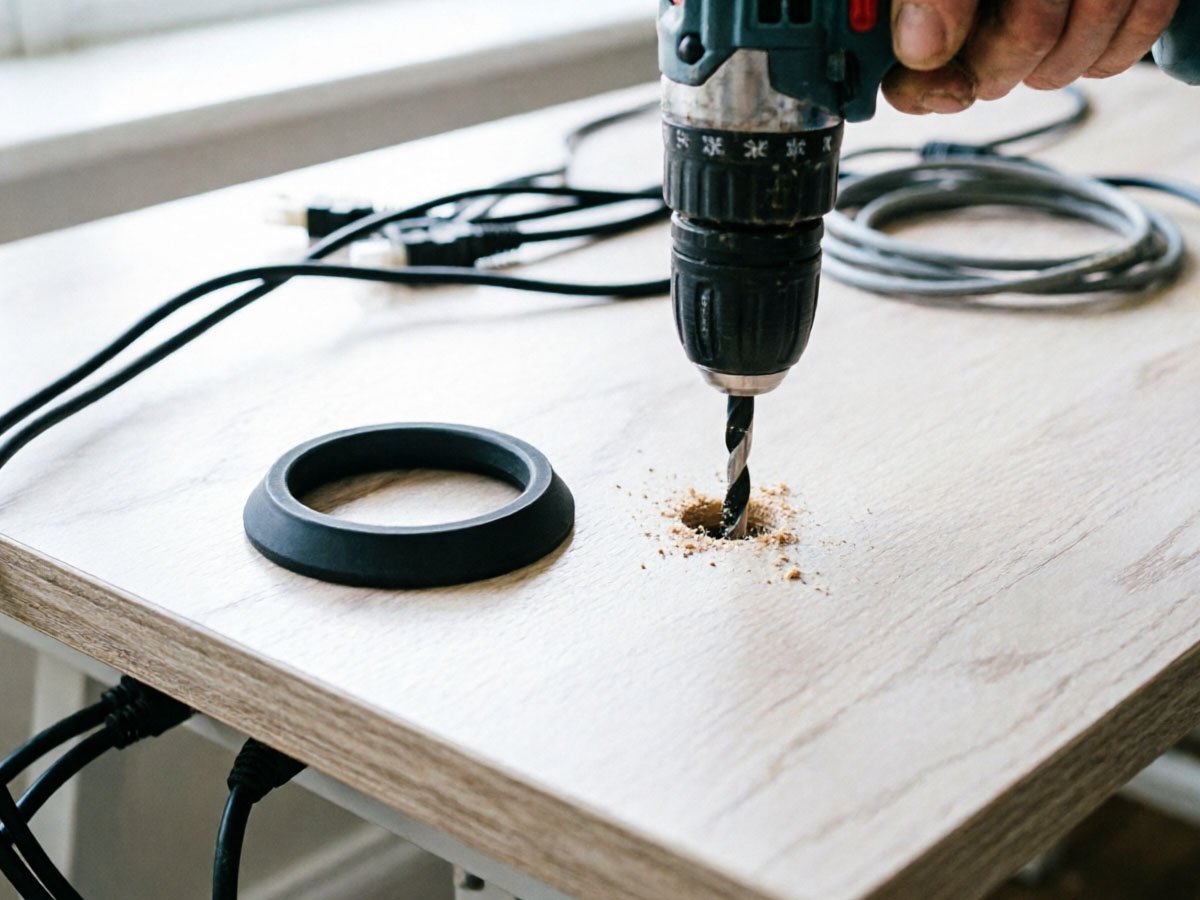
Select a drill bit or hole saw that matches the grommet’s specified hole diameter—typically indicated in the product specifications. Drill slowly and steadily to achieve a clean cut, applying light pressure on thin panels to prevent bending or cracking. For metals or thicker panels, maintain a firm grip to avoid burrs.
Common Hole Diameter Reference
Grommet hole sizes are typically specified by trade size, not just diameter — always confirm against the product datasheet before drilling. As a general reference:
- 1/4″ grommet → 3/8″ drill bit
- 3/8″ grommet → 1/2″ drill bit
- 1/2″ grommet → 11/16″ drill bit
- 3/4″ grommet → 15/16″ drill bit
Panel thickness matters too: standard grommet groove widths are designed for panels between 1/16″ and 1/4″. For panels outside this range, a custom groove width should be specified — using a standard grommet on a mismatched panel thickness is one of the most common causes of loose or unstable installations.
Step 3: Smooth the Edges
Inspect the drilled hole for sharp edges or debris. Use sandpaper or a utility knife to carefully deburr the hole, creating a smooth surface. This step is particularly critical for softer materials like wood or plastic, where rough edges can compromise the integrity of the rubber grommet installation.
For panels with exposed or uneven surfaces around the hole, flanged rubber grommets can provide additional coverage and help create a cleaner finished edge.
Step 4: Insert the Rubber Grommet
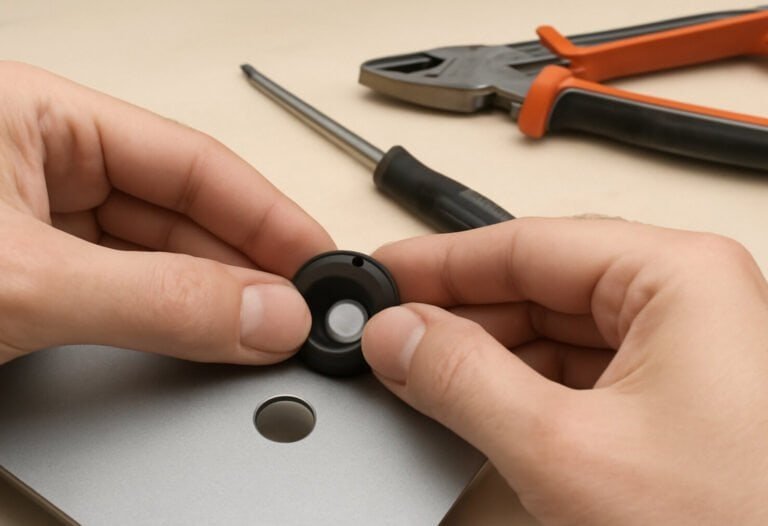
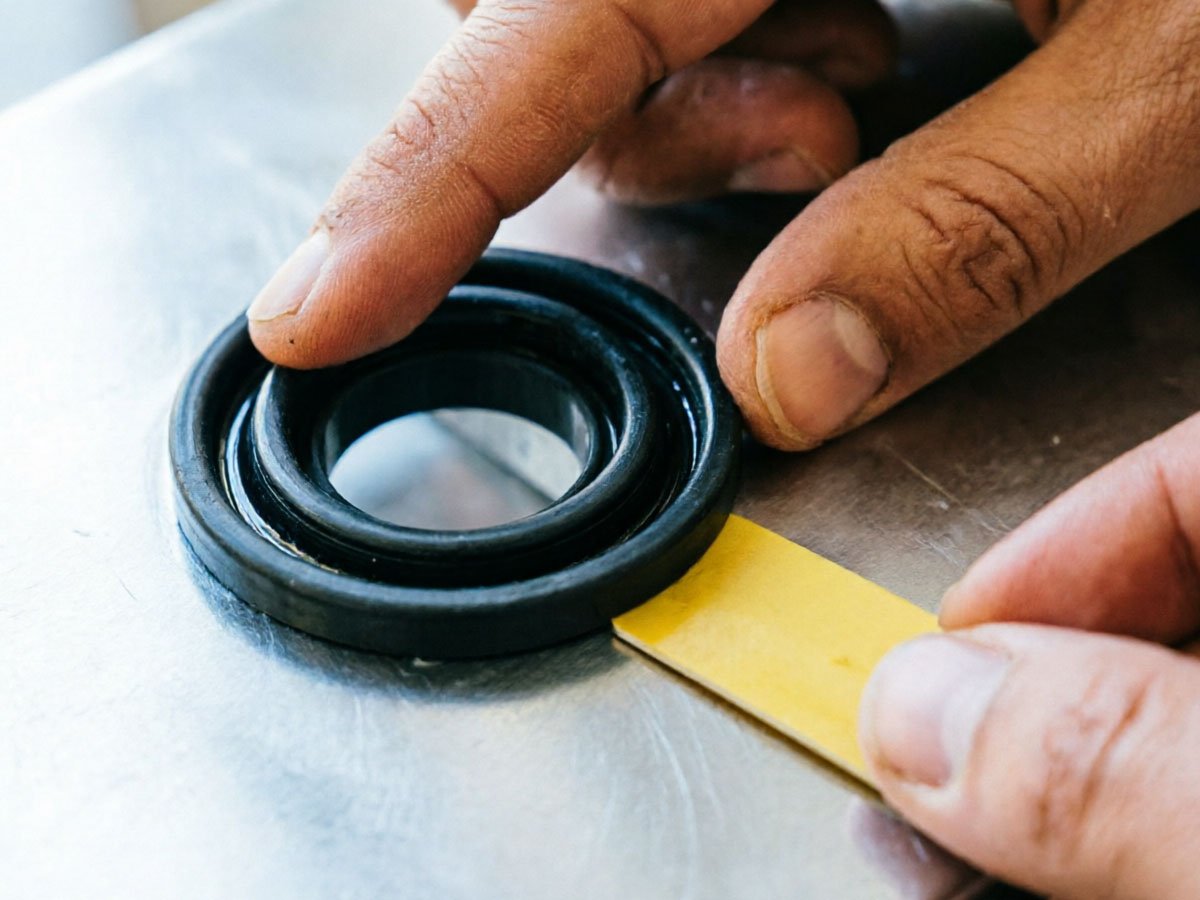
Align the groove of the grommet with the edge of the hole. Using your fingers or a blunt tool such as a plastic card, gently press one side of the grommet edge into the hole. Work gradually around the ring, pushing the rubber into the groove evenly without stretching or damaging it. Ensure the grommet sits flush with the panel surface, with no bulging or loose edges. In most cases, the grommet will snap into place with a satisfying click, indicating a secure fit.
For applications that require a quick, secure installation without additional fasteners, push-in rubber grommets can be a suitable option.
Step 5: Route the Cables
Carefully pass the cable, wire, or tubing through the grommet’s inner opening. When cables are already terminated or cannot be disconnected, split rubber grommets allow installation around existing wires without removing the cable. Ensure the fit is snug but not overly tight. For multiple cables, use cable ties to maintain organization and prevent strain on the grommet.
Step 6: Inspect the Fit
Gently tug on the grommet to confirm it’s securely seated in the panel. Verify that the cables move freely without rubbing against the panel’s edges. Regular inspection over time is recommended, especially in environments exposed to heat, moisture, or mechanical vibration.
Common Rubber Grommet Installation Mistakes to Avoid
Even a straightforward installation can go wrong in a few predictable ways. Watch out for these:
- Forcing an oversized grommet into an undersized hole. This stretches the rubber past its designed tolerance, weakening the seal and shortening its service life — even if it looks fine on day one.
- Skipping the deburring step on metal panels. Sharp burrs left on a drilled hole will slowly cut into the grommet from the inside, especially under vibration, leading to failure months later rather than immediately.
- Ignoring temperature and chemical exposure at the design stage. A standard SBR grommet installed near a heat source or in contact with oils will degrade quickly — this is one of the most common warranty complaints in industrial settings.
- Using the wrong panel thickness for the groove width. A grommet designed for a 1/8″ panel won’t seat securely on a 1/4″ panel, resulting in gaps or a grommet that pops out under stress.
- Over-tightening cable ties around the grommet opening. This can pinch or deform the grommet, defeating its vibration-dampening and sealing function.
For high-vibration, high-temperature, or chemical-exposure environments, these issues are usually a sign that a standard grommet isn’t the right fit for the application — a custom-designed grommet built around your exact panel spec and operating conditions removes most of these failure points from the start.
Expert Tips for Rubber Grommet Installation
Mastering rubber grommet installation requires more than following steps; consider these practical tips for optimal results:
- Select Precise Size: Measure panel thickness and cable diameter accurately to choose a grommet with a matching groove width and inner diameter. Incorrect sizing causes loose fits or overstretching.
- Measure Hole Diameter: Ensure the hole matches the grommet’s outer diameter. Undersized holes hinder installation; oversized holes cause instability.
- Clean Surface:Remove dust, grease, or debris from the panel with a mild cleaner to ensure proper adhesion and longevity.
- Smooth Hole Edges: Use burr-free drill holes to prevent damage to grommets or cables.
- Choose a Suitable Material: Select a grommet material compatible with the environment’s temperature and conditions.
- Soften with Heat: Briefly soak stiff grommets in warm water to ease insertion without damage.
- Space Evenly: Install multiple grommets with consistent spacing for a neat appearance.
- Avoid Overstretching: Ensure the grommet’s inner diameter fits the cable or tubing to prevent tears. Test fit with connectors beforehand.
- Use Lubrication Sparingly: Apply mild soap solution or silicone lubricant for tight fits, wiping away excess to avoid slippage or residue.
Important Installation Considerations for Custom Rubber Grommet Designs
If your project involves high vibration, extreme temperatures, chemical exposure, or an unusual panel thickness — the scenarios covered in the mistakes above — a standard off-the-shelf grommet often isn’t enough.
This is where a custom rubber grommet earns its cost: success hinges on selecting a rubber compound suited to the operating environment, ensuring precise dimensions for inner diameter, flange size, and panel thickness, and incorporating mounting features like locking tabs or flanges for enhanced stability and ease of installation.
These factors directly impact sealing performance, durability, and cable protection (see rubber grommets for wires benefits). Reinforced designs help withstand vibration or pressure, while specialized blends or coatings improve airtight or watertight sealing. Prioritizing easy installation also helps minimize labor costs and errors in large-scale or industrial applications.
Conclusion
Mastering rubber grommet installation transforms a seemingly simple task into a cornerstone of effective cable management. By preparing diligently, following a precise step-by-step process, applying expert tips, and considering custom design factors, you can achieve a secure, durable, and professional result. Whether you’re protecting wires in an electrical panel or organizing cables in a home office, a well-executed rubber grommet installation ensures safety, longevity, and a polished finish. Embrace these techniques, and let your projects shine with the reliability that only a properly installed rubber grommet can provide.